By default, each Pan-Tilt-Zoom (PTZ) camera has a Home Position, where it is positioned unless a user manually controls the camera, or if the camera is automatically controlled by Symphony (for more information on auto control, see the Rule element Actions). Using the Camera Tour function, the camera can be configured to have multiple Home Positions. This effectively allows the camera to cover more area.
Analytics running on PTZ cameras in the case where the camera tour is configured but disabled may not function correctly, as the analytic settings will revert to defaults. |
To configure a Camera Tour:
1. Access your PTZ camera. For example, click on the PTZ camera name in the Camera Tree.
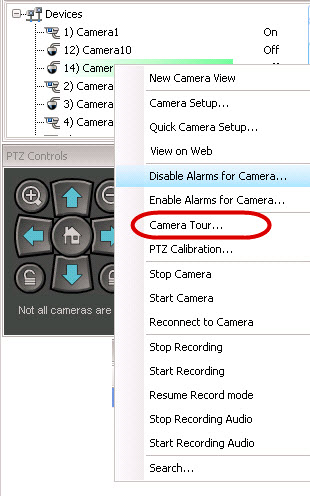
2. Right-click on the live view of the camera and select Camera Tour and then click Edit. from the menu. The Camera Tour dialog box opens.
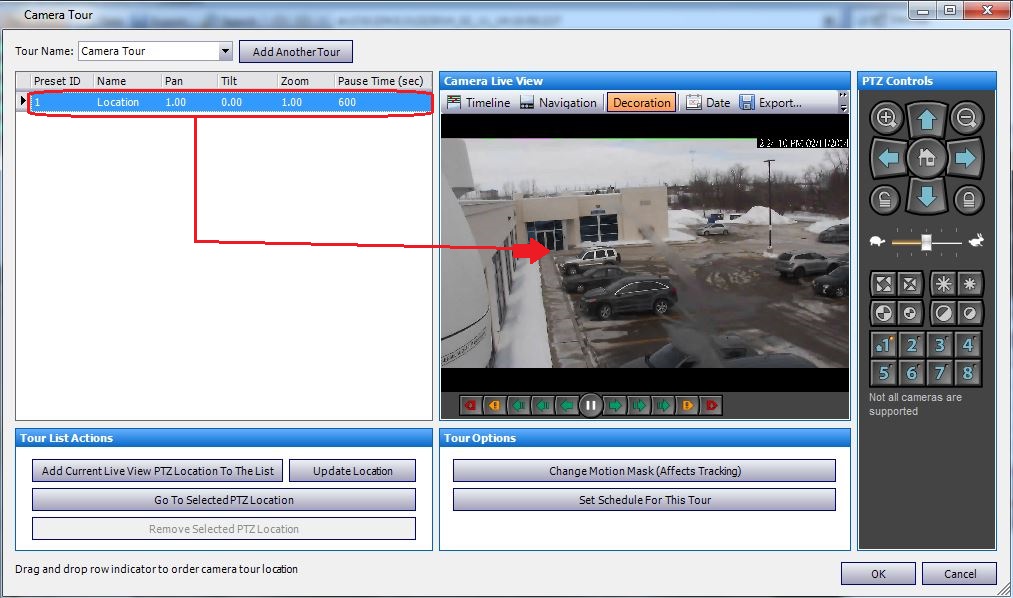
3. From the Tour Name drop-down list, select a tour to modify. By default, there is one Camera Tour configuration. You can create multiple Camera Tour configurations with different tour locations and schedules.
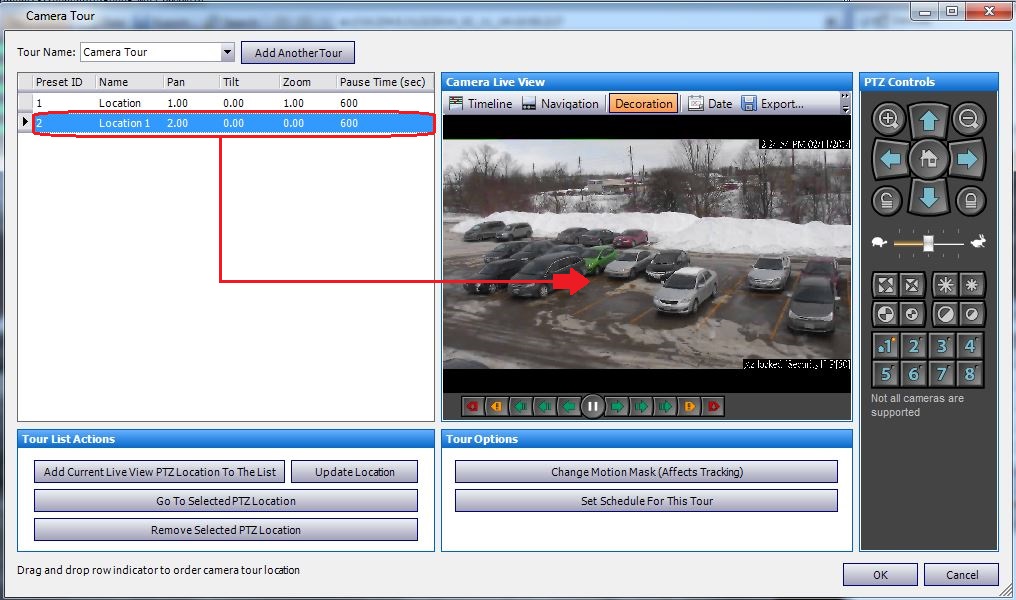
4. Using the PTZ controls, move the camera to the desired location by using the arrows, and the + and - buttons to configure the zoom level.
5. To save location, in the Tour List Actions group area, click Add Current Live View PTZ Location To The List.
6. By default, Symphony will move the camera between the different locations every 600 seconds. To change this value, modify the value (in seconds) in the Pause Time field.
7. To modify the mask an area for the new Camera Tour location, in the Tour Options area, click Change Motion Mask. The Server Configuration dialog box open with the Devices listed and the mask took (eraser icon) tool active.
• This enables you to define where Symphony should track or not track objects.
• Each Camera Tour location is much like a separate camera, since it has its own field of view. As a result, must define the Motion Mask area for each Camera Tour location. For more information on setting a Motion Mask, see Masks.
8. To modify perspective information for the new Camera Tour location (not all video analytic engines require this), click Change Perspective Settings. The Camera Tour location requires its own perspective information (to classify objects properly). For more information, see Perspective configuration.
9. To define when this Camera Tour is active, click Set Schedule for This Tour. Since many Camera Tours can be configured, you may decide to have a Camera Tour sequence that is different during the day than at night. The Set Schedule for this Tour dialog allows you to configure the schedule for this specific Camera Tour. Each Camera Tour can run on a separate schedule. Make sure that Camera Tour schedules do not overlap in time.
10. Click Apply to save changes and OK to complete the configuration.
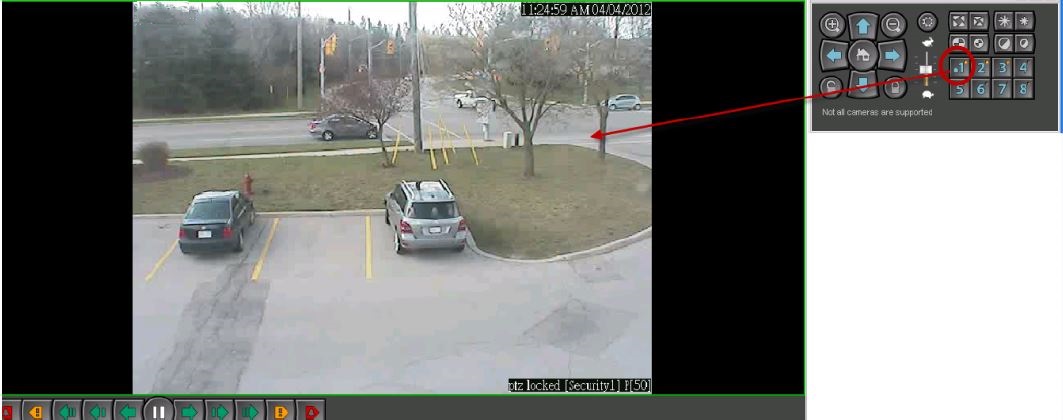
In the main console, with the PTZ Controls visible, you can click on the numbers. For example, 1 moves the camera to the Home position (Location 1) on a tour.