|
Article Type:
|
How To
|
|
Product:
|
Symphony
|
|
Product Version:
|
|
|
Component:
|
Symphony Server
|
|
Device Brands:
|
|
|
Created:
|
18-May-2022 11:52:27 AM
|
|
Last Updated:
|
|
Upgrade Microsoft SQL Server (32 bit) to Microsoft SQL Server (64 bit)
Before you upgrade the Microsoft SQL Server, make sure that you have the following: To upgrade from the Microsoft SQL Server (32 bit) to Microsoft SQL Server (64 bit), complete the following tasks: - Back up the database.
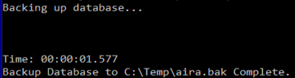
You can use the Microsoft SQL Server Management Studio to detach and back up the Symphony database. For more information, see here. To back up the Symphony database using the command prompt, complete the following steps: - Open the command prompt as an administrator.
- Run dbupdater “BACKUP DATABASE database_name TO DISK = 'C:\Temp\database_name.bak'”
Where database_name is the name of your Symphony database. The default database name is aira.
- Uninstall the Microsoft SQL Server (32 bit).
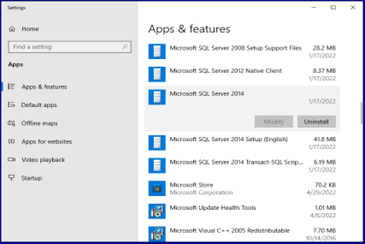
On the computer that host the Microsoft SQL Server, complete the following steps: - Open Apps and Features.
- Find the Microsoft SQL Server entry and click Uninstall.
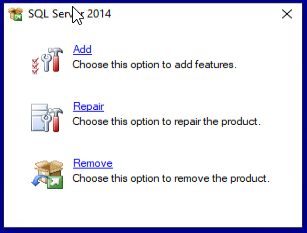
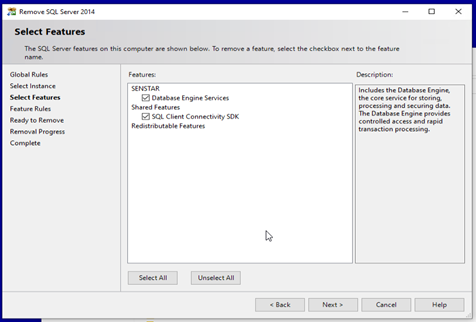
 - Click Remove.
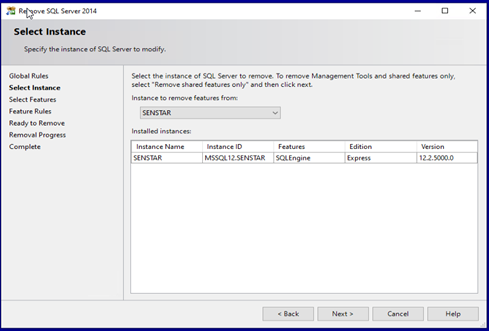
 - Select the instance and click Next.
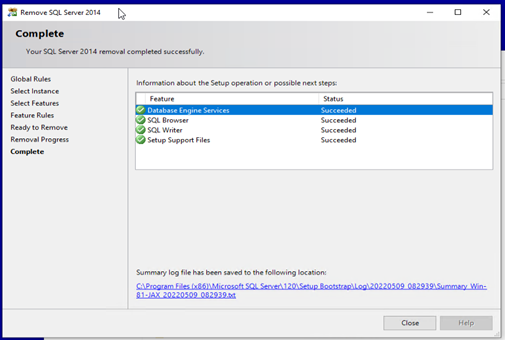
- Select all features and click Next.
- Click Close.
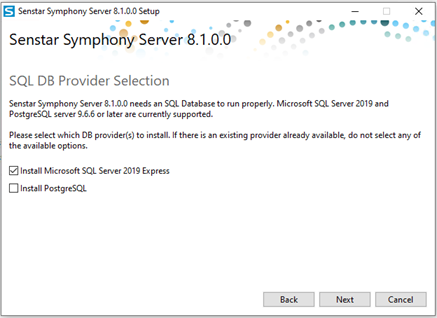
- Install the Symphony Server. After the installation is complete, you must run the setup wizard to configure the Symphony Server for the database restoration to be successful.
During the setup, you must select the Microsoft SQL Server 2019 Express (64 bit) as the database provider.
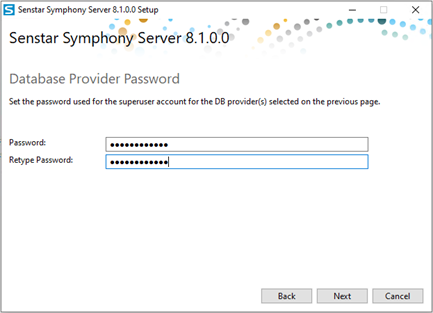
 During the setup, type the password for the Microsoft SQL database. You should use the same password as the Symphony database you want to restore.
To confirm that the Microsoft SQL Server 2019 Express (64 bit) installed correctly, complete the following steps: - Open the command prompt as an administrator.
- Run dbupdater “SELECT @@VERSION”

- Restore the database.
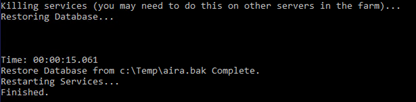
You can use the Microsoft SQL Server Management Studio to restore the Symphony database. For more information, see here. To restore the Symphony database using the command prompt, complete the following steps: - Open the command prompt as an administrator.
- Run dbupdater ”RESTORE DATABASE database_newname FROM DISK = 'c:\Temp\database_name.bak' WITH REPLACE”
Where database_name is the name of your previous Symphony database and database_newname is the name that you will use for the restored database (you cannot use the same name for the restored database).
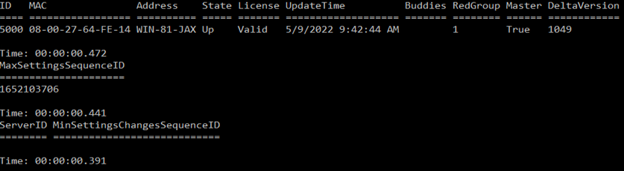
- To confirm that the Symphony Server is reading the restored database, run sts
- Run the setup wizard again to configure the Symphony Server to use the restored database.
|
Average rating:
|
|
|
|
Please log in to rate.
|
|
Rated by 1, Viewed by 3961
|
|